

Your Cart is Empty
“The binders have burnt away”
This is a pretty standard definition of sintering, however, as I strive to provide my customers with the highest quality of craftsmanship I also consider “Metal Quality” as my benchmark for sintered.
I consider sintering as a 2 step process to be complete:
•Step one is the burning off of the organic binders.
•Step two is the fusing of the metal particles.
Considering that fine silver is a “soft” metal, this means that it is a flexible metal. Sure, depending on it’s thickness you may not be able to bend it, but keep this point in mind.
You can “sinter” a piece (step 1) and when removing it from the kiln it will have the dusty white residue that shines silver when brushed.
BUT
If the metal particles have not completely fused, the interior of the metal will be porous, making it brittle. As the exterior of the piece will have been subjected to the maximum kiln temperature, the surface particles will usually fuse without issue. However, if the core temperature of the piece does not reach the same temperature the particles will not fuse. The quality of the metal in this case will be very poor.
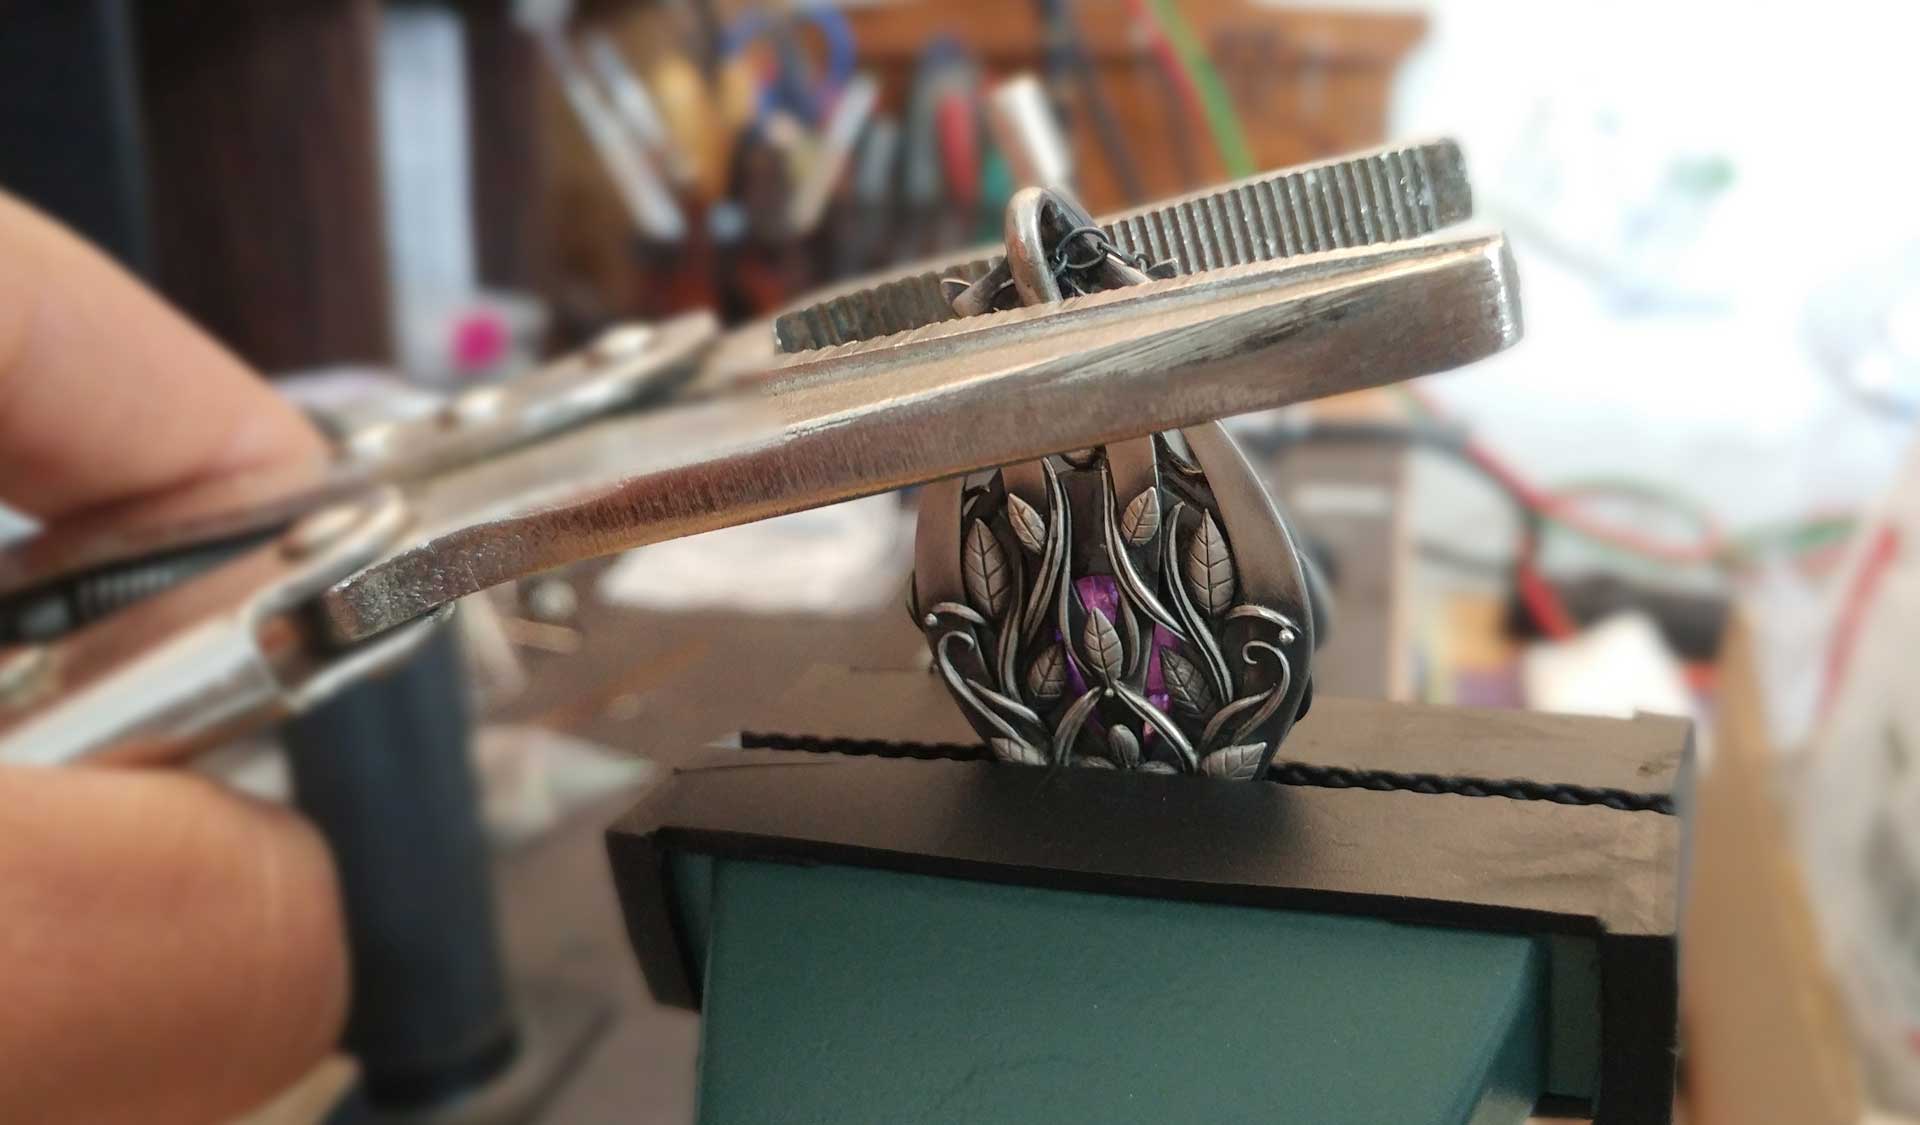
A tell-tale indicator of non-fused particles is the ends of a broken piece of silver. Firstly, as I mentioned earlier, fine silver should not "break" unless having been submitted to extreme cold or chemicals, it should bend. If it breaks with a somewhat straight edge, and you are able to see a rough, uneven and possibly porous surface (that might take a strong magnifying glass to see) and the color is dark this usually indicates incomplete sintering. If the ends are bent or curved, this would normally indicate the silver has broken under tension of the metal being bent backwards and forwards multiple times.....not a natural occurrence under normal wearing ;-), but you will see a uniform color throughout the ends.
The challenge is that to test the metal quality,(not a standard chemical test, as non-fused silver particles are still silver and will pass) is to bend it! REALLY, after working for 20-30 hours on a creation. The test I recommend (do I need to mention "Strongly"?), Ok, strongly recommend, is to complete a test firing on a regular basis. This along with the data from your firing log (you know, the one you complete diligently for every firing), will allow you to create your personal firing schedule. Here is a video from our Sky Guide 5 tutorial that shows how to do a test firing. Although I am testing PMC OneFire™ Sterling, the steps are the same for all metal clays.
Based on my testing results, I always fire fine silver for a min. of 2.5 hours. This covers the variation in ambient temperature, humidity levels and atmospheric pressure for my location - living on an Island means that both these factors can change within minutes.
By extending the firing time, you are increasing the chance that the internal temperature will reach the firing temperature allowing the particles to fuse. Sure, you will use a little more electricity and maybe test your patience a little longer but;
You invest so much time and creative energy producing your creations, why risk turning it into a nightmare when having to find a solution for that customer who bought the piece that broke.
Ultimately, it will be your personal goals that determines if you adopt this information and put into practice a level of "Quality Assurance". However, if you intend selling your creations, do your really what to be selling just a shiny exterior and risk your commercial endeavors?
You have the skills, you have the dedication, you have the passion, YOU ALSO HAVE THE CAPACITY TO ENSURE THE QUALITY OF YOUR FIRED METAL CLAY!
Based on this, it is easy to understand my point of view on torch firing contained in: this post
You can click / tap this image to download this guide to help in determining your firing schedules for YOUR kiln & location.

Comments will be approved before showing up.
